This is a follow-up post to this general explaination of retiming methods.
This is my favourite way to retime footage from 30 fps to 25 fps in high quality with After Effects. This method does not use any 3rd party plugins like Twixtor. Off we go:
Import your final film. It should have been edited at 30 (or 29.97 if you converted to cineform and maybe in some other cases too) fps. Go to the footage in the project window and choose Interpret footage. Set the frame rate to your target frame rate (in my case 25 fps).
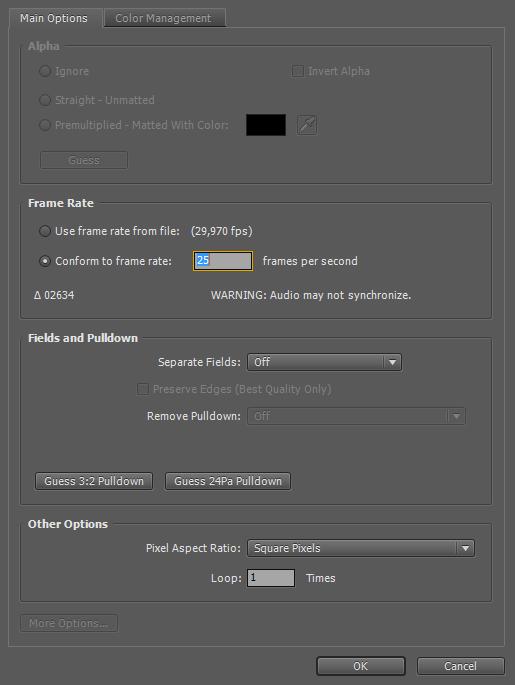
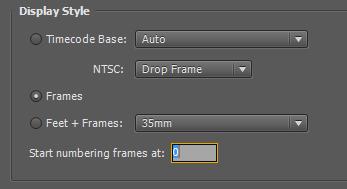
Create a new comp based on this footage. It should be set to 25 fps as well. If you take a look then you will see that what is happening now is that we play the footage back with a lower speed. To correct this, apply the TimeWarp effect. You could use the speed parameter, but I prefer to use to keyframe the source frame parameter. Change your project settings to display frames instead of a timecode:
Note the length of your footage in frames. Now calculate the new end point: <number of source frames> / <original framerate> * <target framerate>. Round up if this results in a fraction instead of an integer number. Go to the frame that you calculated (which should be exactly at 5/6th of the total length of your footage/timeline). Add a keyframe for the Source Frame parameter here and set it to the last frame (the number of source frames). Go to the beginning of your comp and keyframe to source frame 0. Set the method that Timewarp uses to Frame Mix (for frame blending) or Pixel Motion (for frame generation). If you scroll through it now (can be very slow with pixel motion) you will see the retimed footage.
![]()/files/timeline%20simple%20retiming.jpg)
If you don’t have any hard cuts, you’re done now and can render the result. If you have hard cuts, you will want to protect them.
You can go to all hard cuts, keyframe it to one exact frame just before the cut and keyframe it to exactly one frame later after the cut. But this is tedious, so here is a quicker way:
Find all hard cuts and place layer markers there (or let the very nice Magnum script do the work for you). Then add this expression to the source frame parameter:
n = 0;
t = 0;
if (marker.numKeys > 0)
{
    n = marker.nearestKey(time).index;
}
if (n > 0)
{
    t = (time +thisComp.frameDuration) - marker.key(n).time;

    if (Math.abs(t) <= thisComp.frameDuration)
		Math.round(effect("Timewarp")(4))
    else
        effect("Timewarp")(4)
}
else
	effect("Timewarp")(4)
It will keep the animated value unless there is a layer marker present at the current or the next frame in which case it will round the time to make sure that no blending across the hard cut occurs.
![]()/files/timeline%20hard%20cuts%20protected.jpg)
In a future post I will show a way to do the same thing in twixtor which handles the hard cuts differently.
If you get messed up frames in between you can either switch back to frame blending for the few frames that require it or use brainstorm to optimize the optical flow analysis parameters of Timewarp.